
NANO HOUSE PROJECT
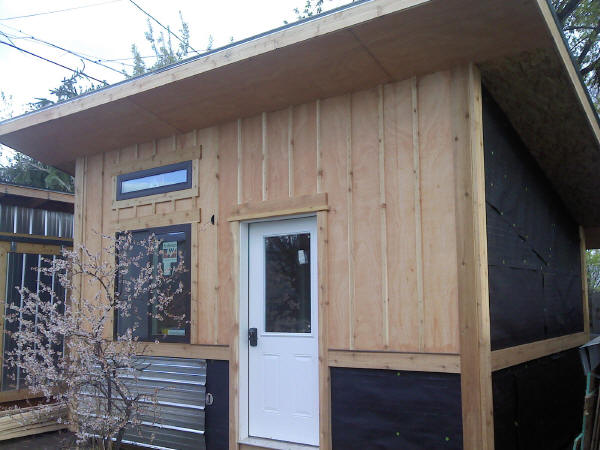
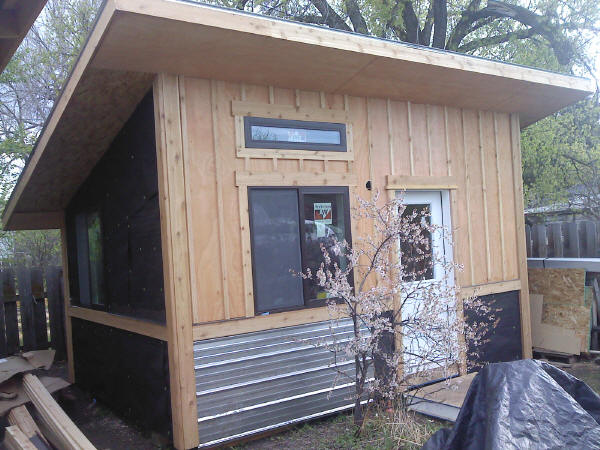
This project was started in April 2012 as an office for Choice Energy and Bozeman Cottage vacation rentals. It is located on the same property as the Bohart Guest House weekly rental sustainable home. The total material cost was $12.411, labor was about $10k not including my time or design time. Overall it is a fairly affordable structure considering it is super insulated and all windows and materials were purchased new. I found a lot of intriguing examples of nano houses made primarily of used and upcycled materials, which I really liked, but I wanted to be able to re-produce this easily at a known cost.
A solar PV system would be easy to add for a fully autonomous structure.
The Nano House was featured in an article in Distinctly Montana in 2014.
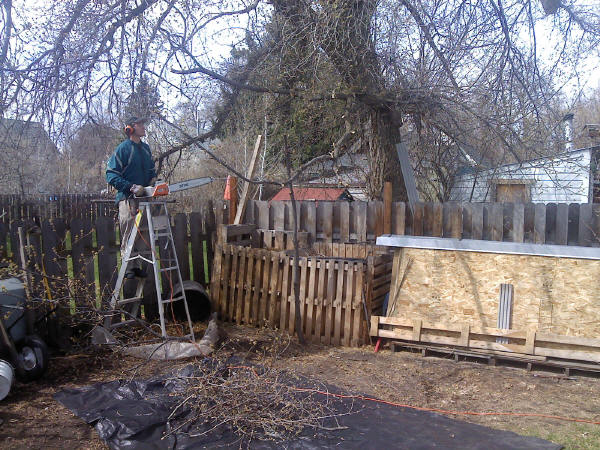
Charles clearing a large tree limb to make room, compost bins moved to other
side of fence and finished compost applied to garden. After moving the
compost it has been at 145F. The chainsaw is electric, the biggest one
Stihl makes, I used to use it in my oak firewood business, so quiet and
powerful.
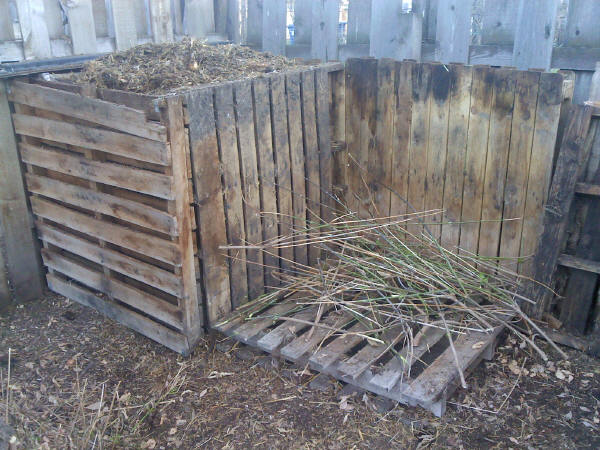
New compost bins, used tree branch sprouts to create screen on bottom to
keep material out of floor cavity
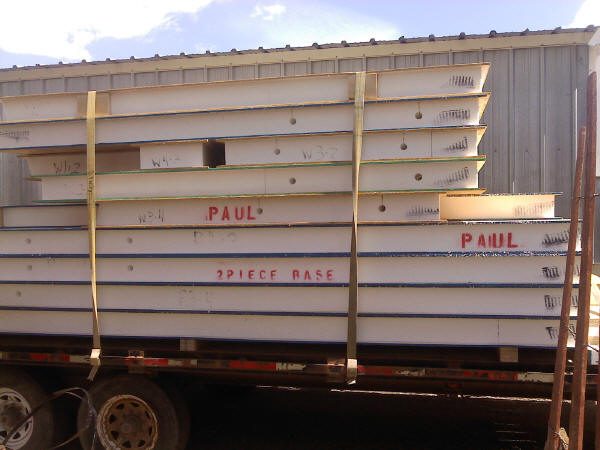
One trailer load of SIPS panels, one nano house!
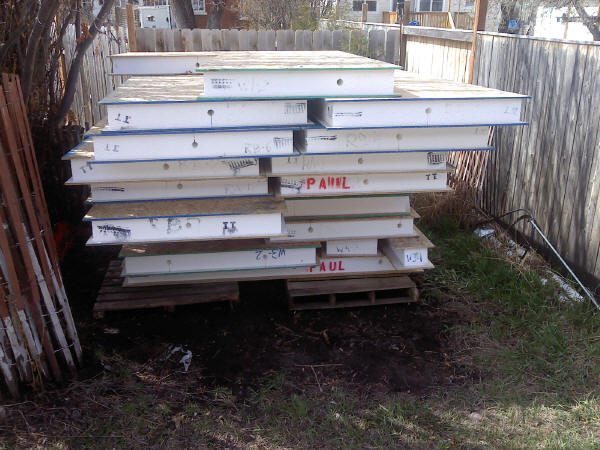
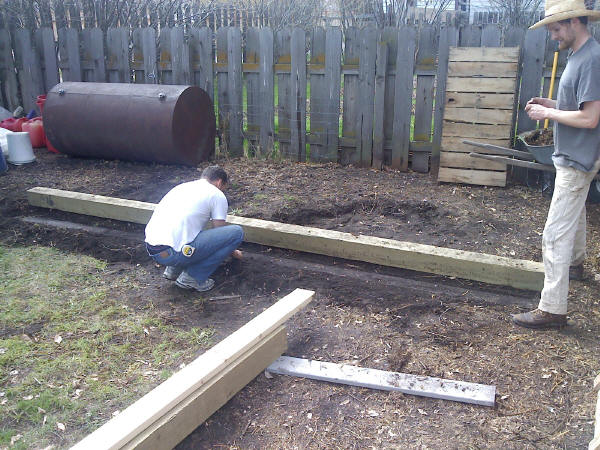
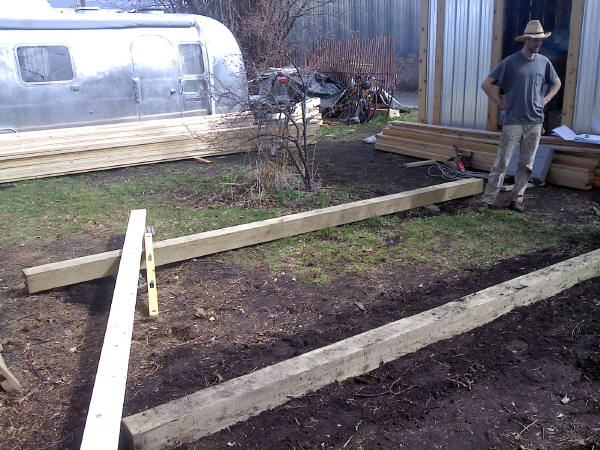
6x6 pressure treated skids for foundation
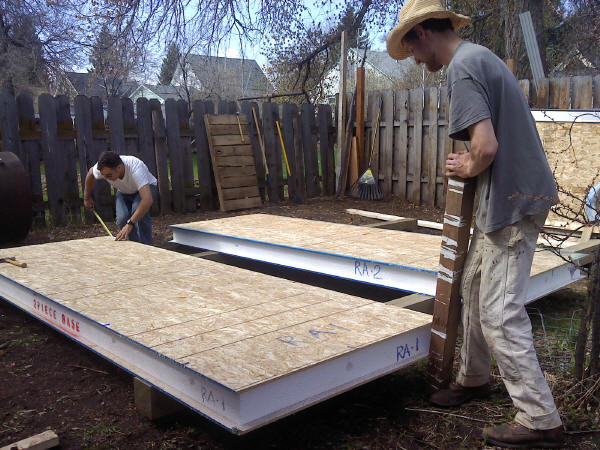
First floor panels going onto skids, they get screwed down with long 10"
special screws
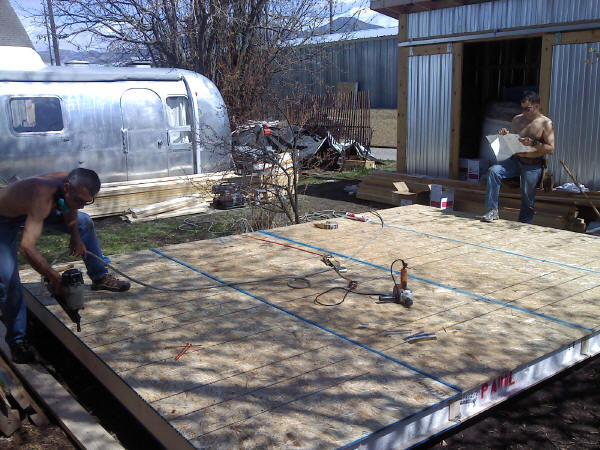
Nailing into 2x6 lumber inserted into edge of SIPS panels, this gives
strength to the edges of the panels and also allows them to be attached
together. Each seam has two 2x6's between the panels.
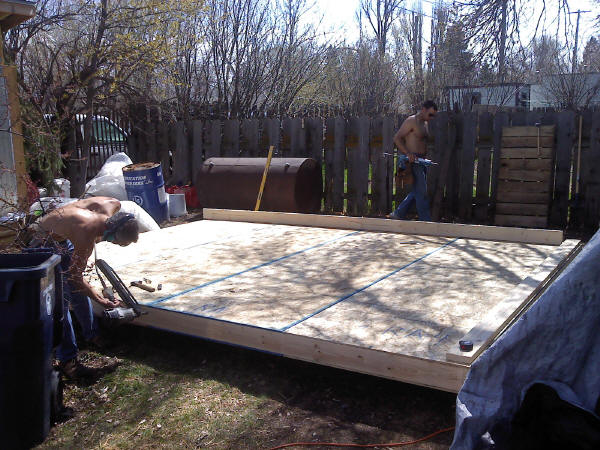
Finished floor base, 23,184 sq inches!
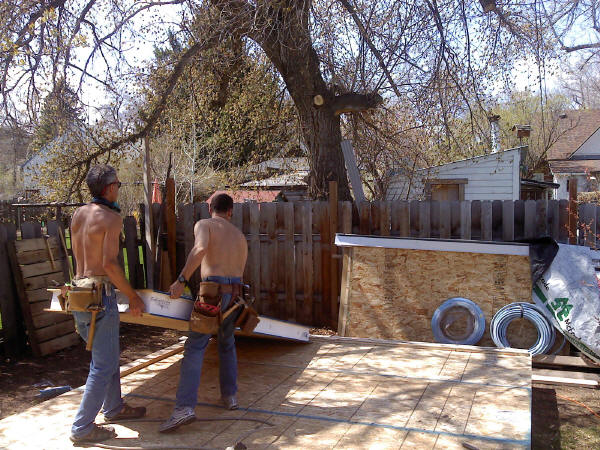
First wall section going up
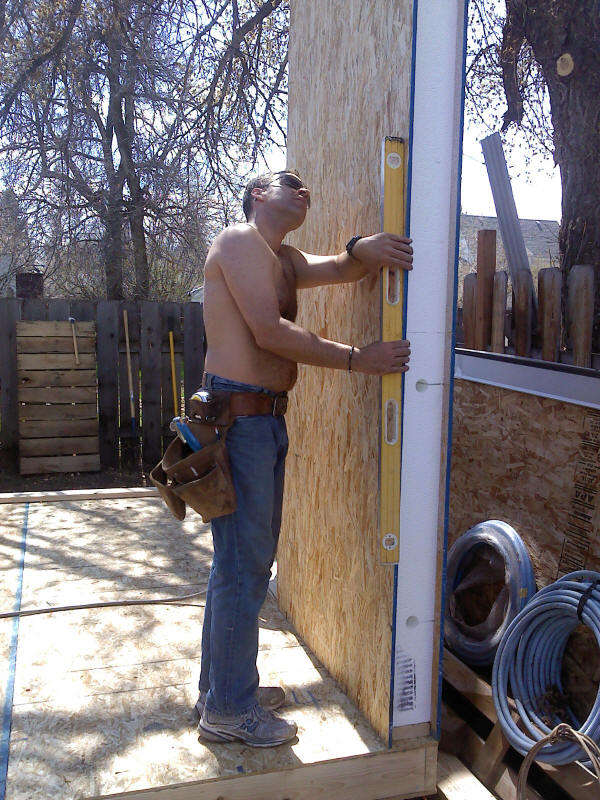
First wall section, walls sit on 2x6 lumber screwed to base, foam is melted
out along edges of panels to receive 2x6 insets on all four edges.
Holes in foam are for running electrical wire.
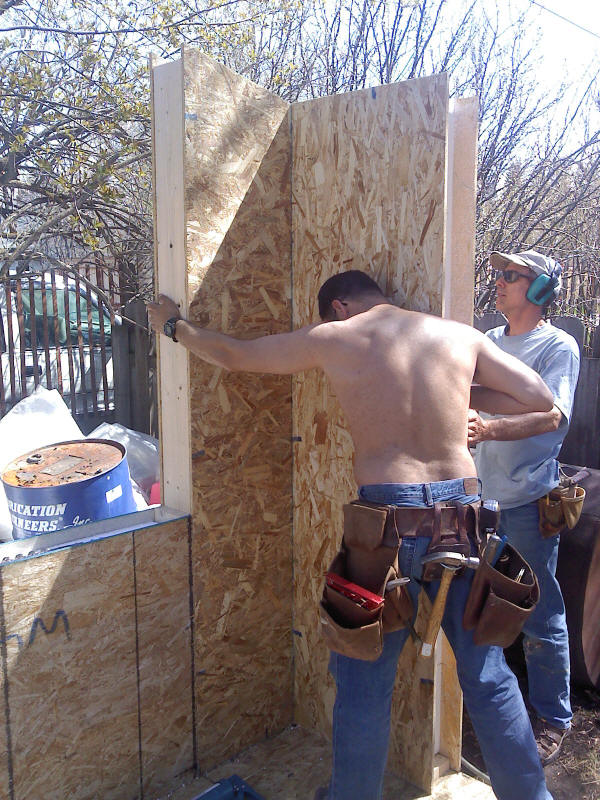
First corner installed
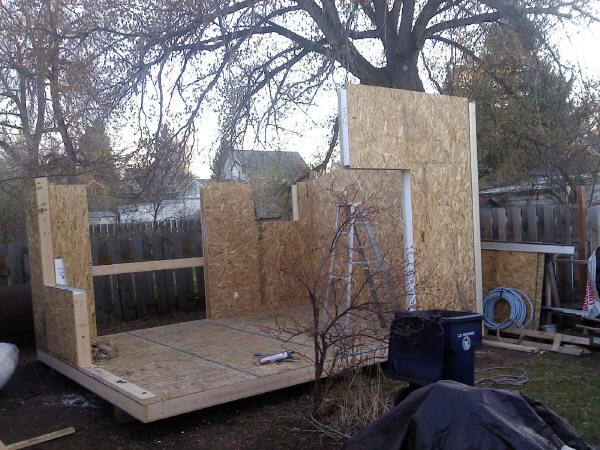
End of day 1, 6 hours of work with 3 guys
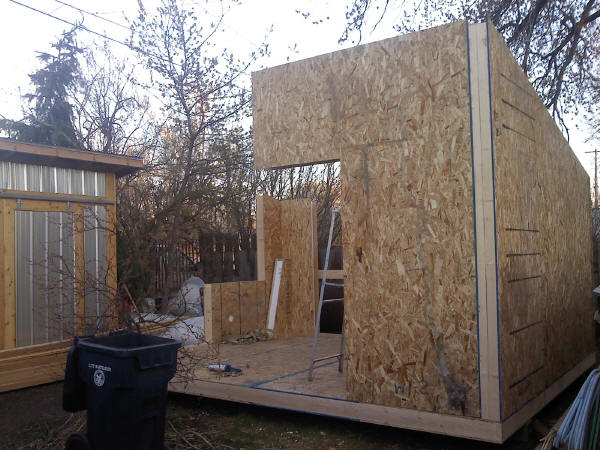
Day 2
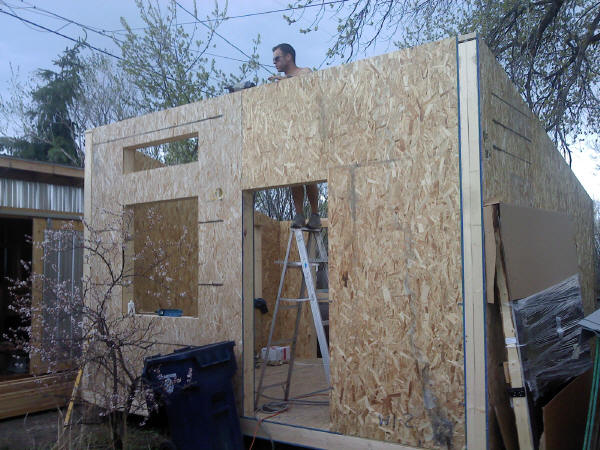
All wall sections in place, end of day #2. Also ran power through
hollow chases inside of foam, roughed in most of the power outlets
Day #3, place roof panels, the hardest part of the whole building process,
and mini barn raising effort
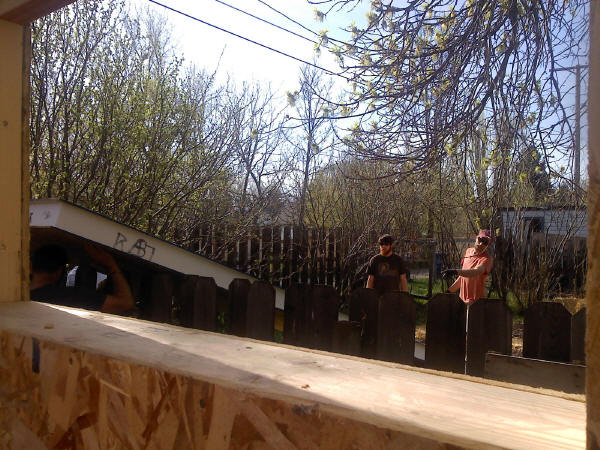
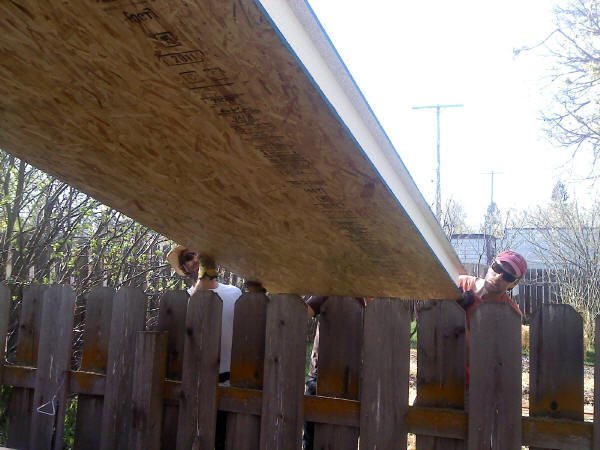
First roof panel coming in from neighbors yard
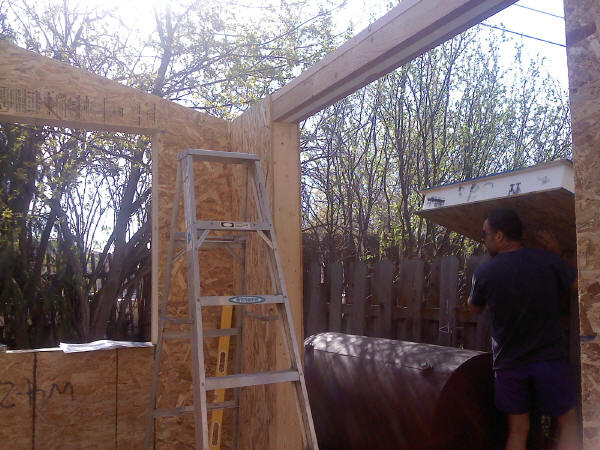
The old 300 gallon fuel tank finally serves a purpose - perfect height for 2
guys to stand on and boost the panels up to 2 more guys on the roof.
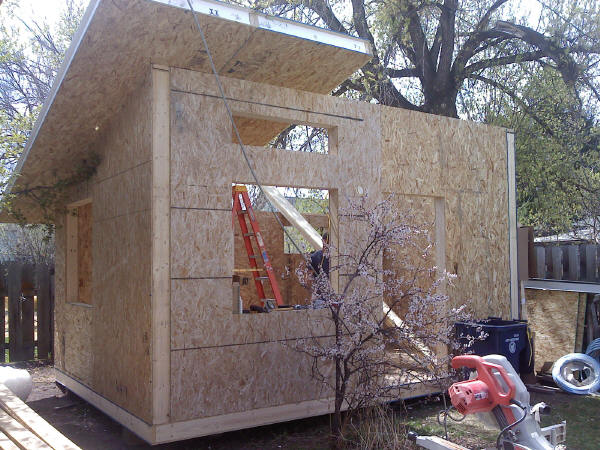
2 out of 5 roof panels installed
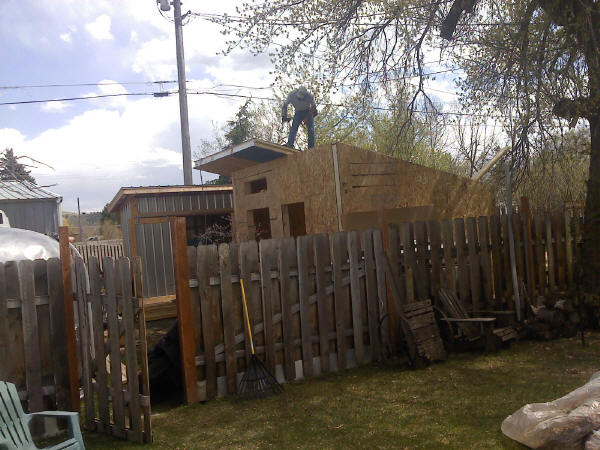
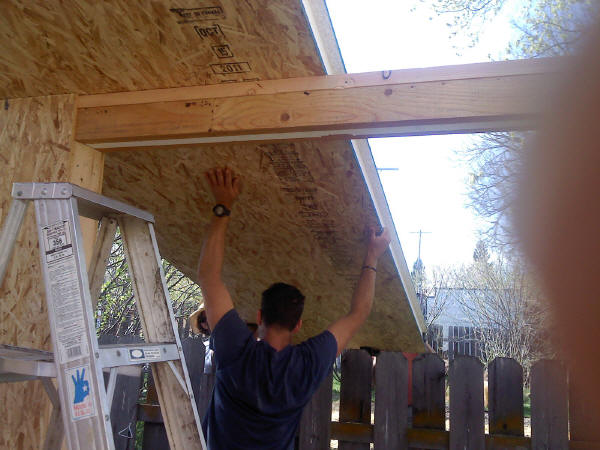
Panel #2, the header is over the location of the sliding glass door.
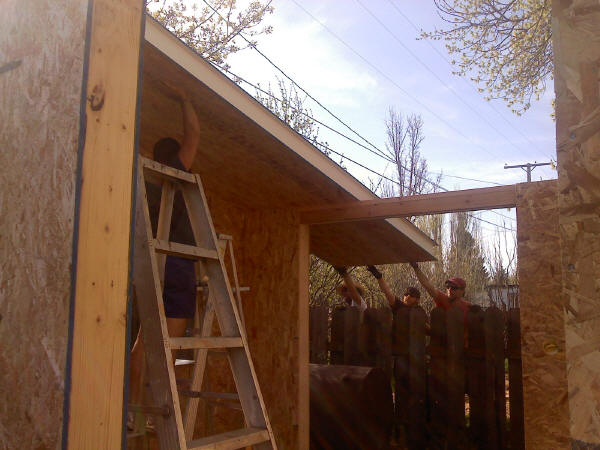
Panel #2
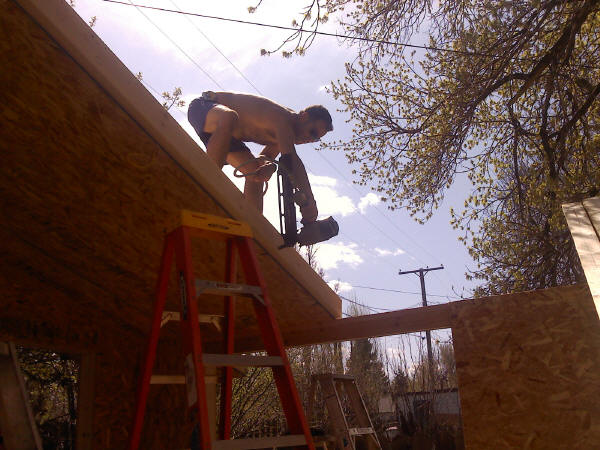
Between each roof panel are two 2x6 framing lumber - the first one is inset
after the panel is up to keep the total panel weight down (these take 4 guys
to move and are 20 feet long by 4 feet wide. The second 2x6 is then
nailed to the first and the next panel is slipped onto the 2x6 then nailed
from the top and bottom.
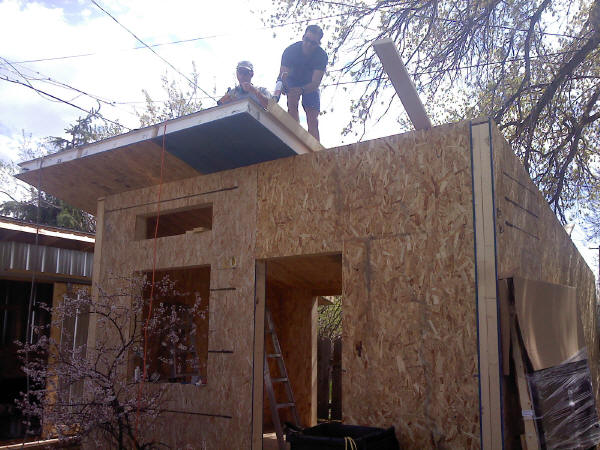
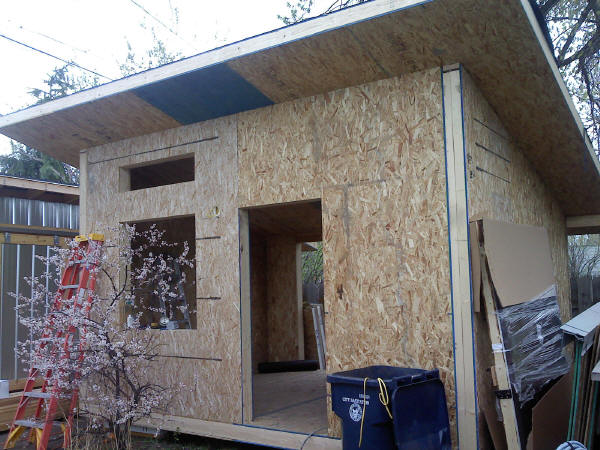
End of day #3, all panels installed, ready for rough in inspection then will
start installing windows and siding.
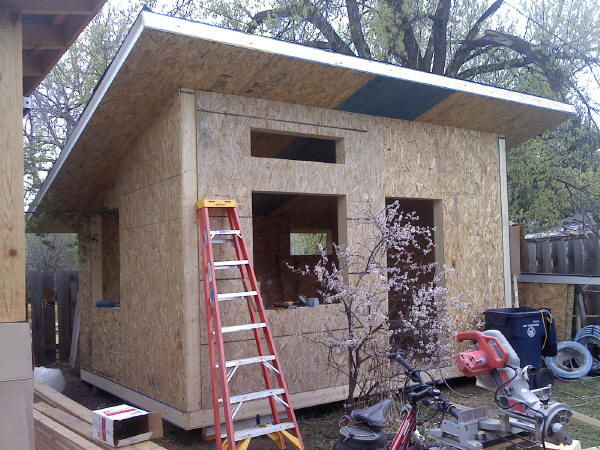
Day #4: start on board and batt siding, install 3 windows, finish electrical rough in
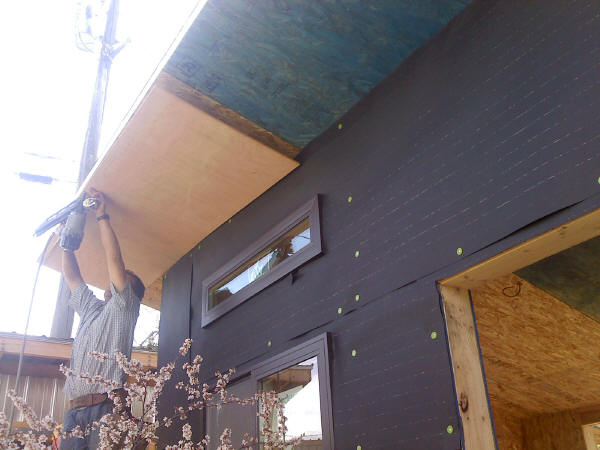
First sheet of plywood soffit. Using Breckenridge 3/8" ply for siding
and soffit.
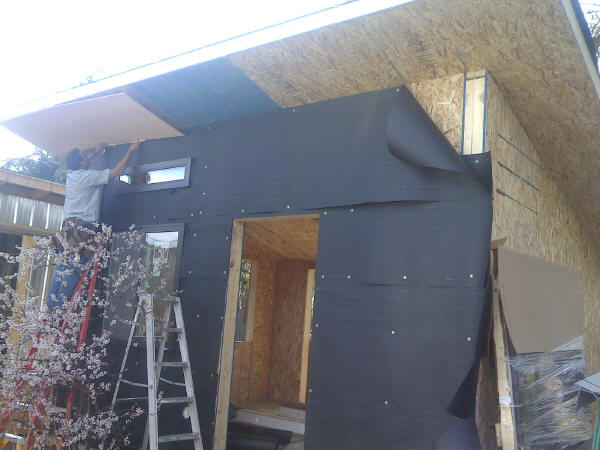
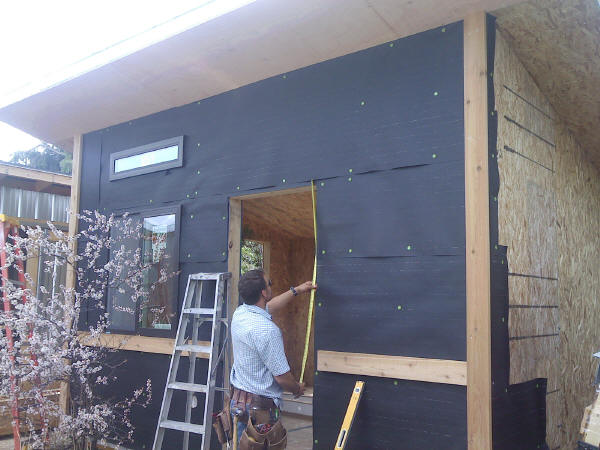
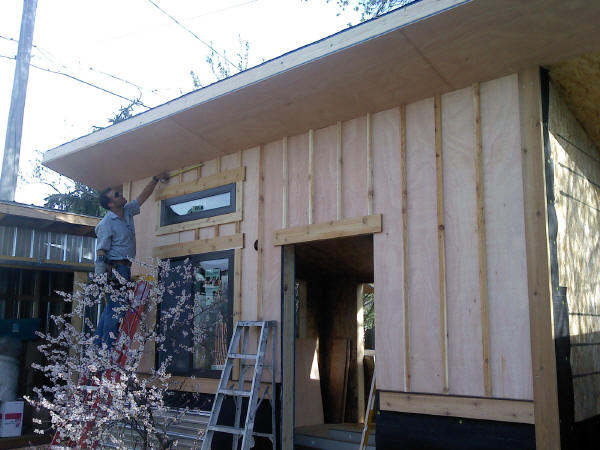
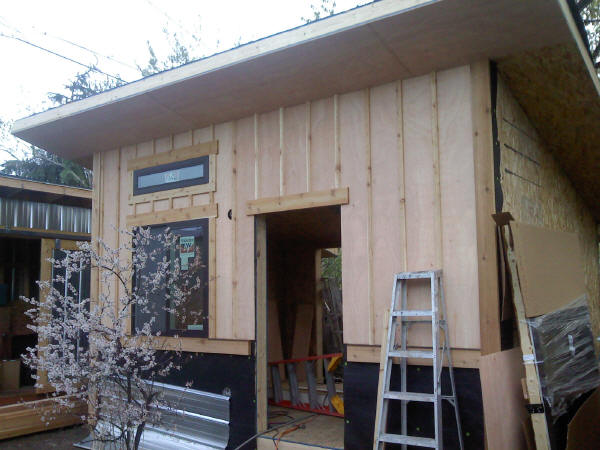
End day 4. Siding will be treated with linseed oil.
From here the progress mostly moves inside, we worked right through a warm wet spring snowstorm that lasted a whole day and dropped 40" in the mountains. The roof was well tarpapered so no harm there.
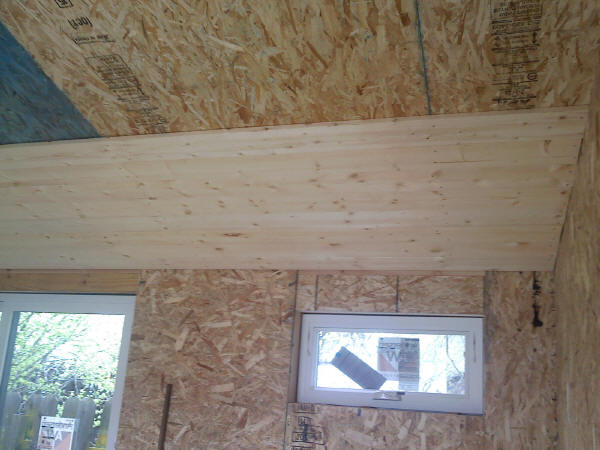
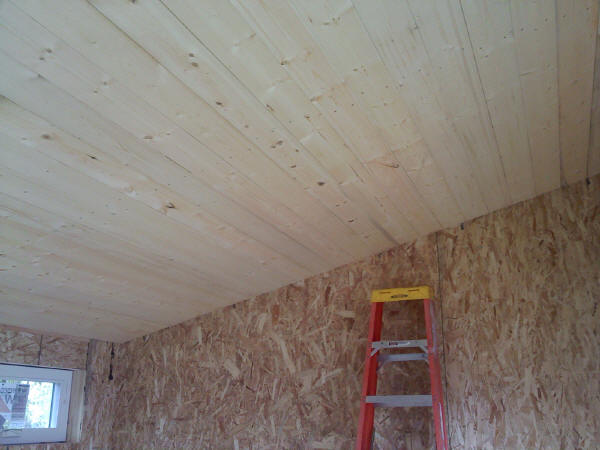
1x6 pine going up on the ceiling, 1 hour
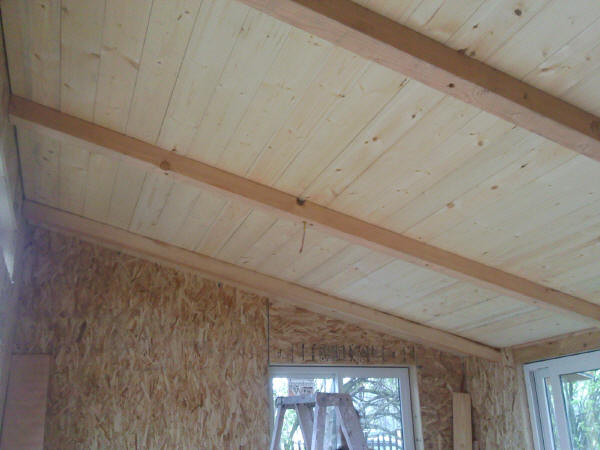
And now for some 4x4 beams:
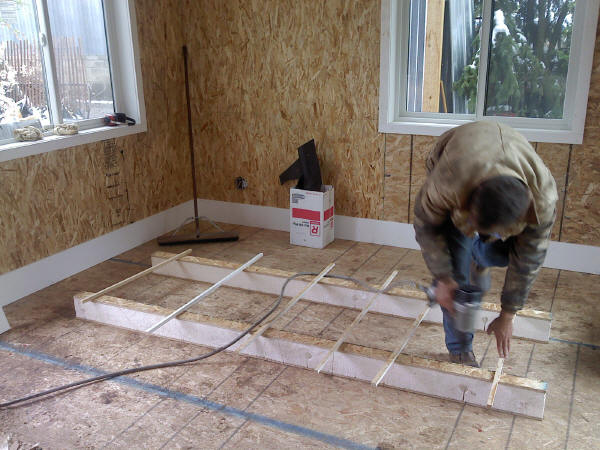
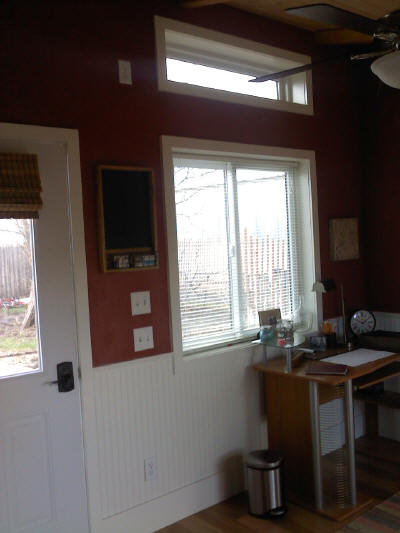
Getting ready to cut the bead board wainscoting, quick progress. Base
and chair rail is MDF which is very easy to work with.
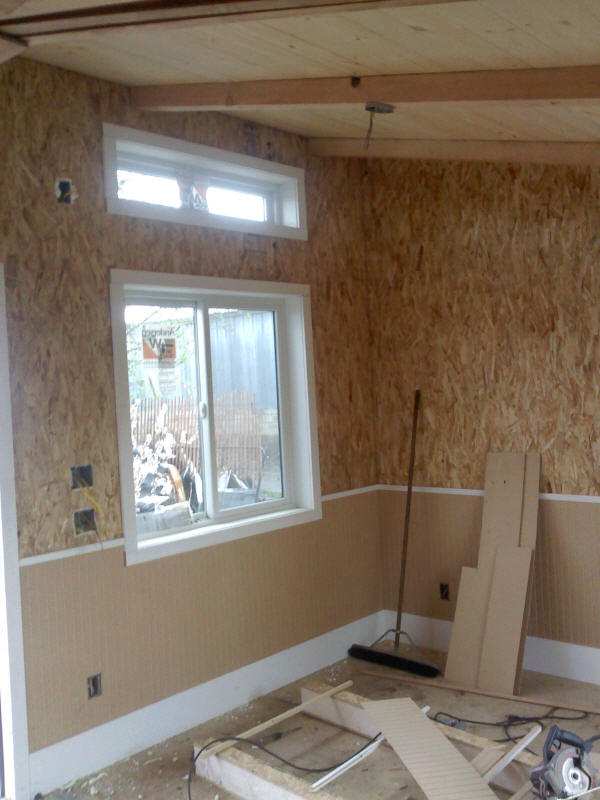
In one day all the trim went on walls and windows, sauna room framed,
sheeted, and trimmed, and door hardware installed.
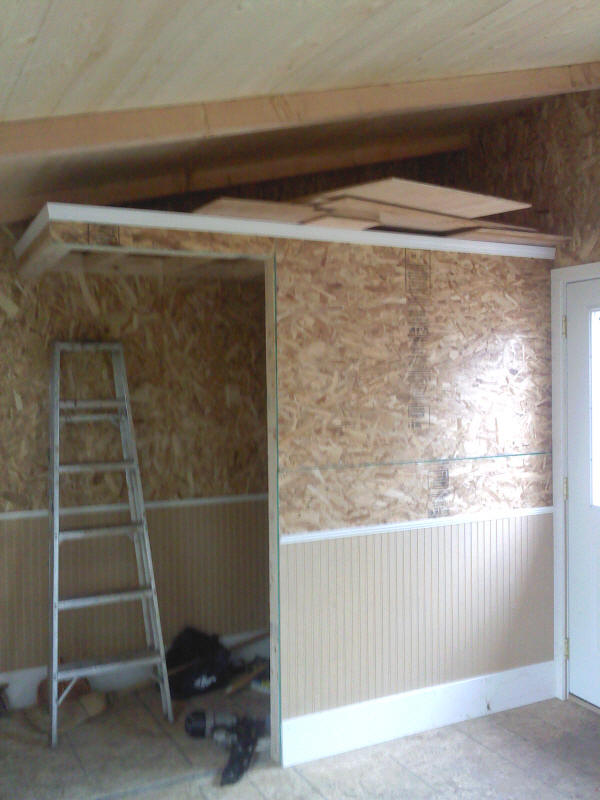
We also built a sauna room - wood stove to be placed against the wall under
the roof, will conjure up some sort of retractable wall or curtain to turn
the small room into a dry sauna. Nice amount of storage space above.
Walls above chair rail will be covered with rish colors of American Clay,
bead board to be pained white.

End of day #7. Time to order roof and siding metal, install power
outlets and lights.
